
Bringing Happy Hands to Life: A Creative Studio Canvas
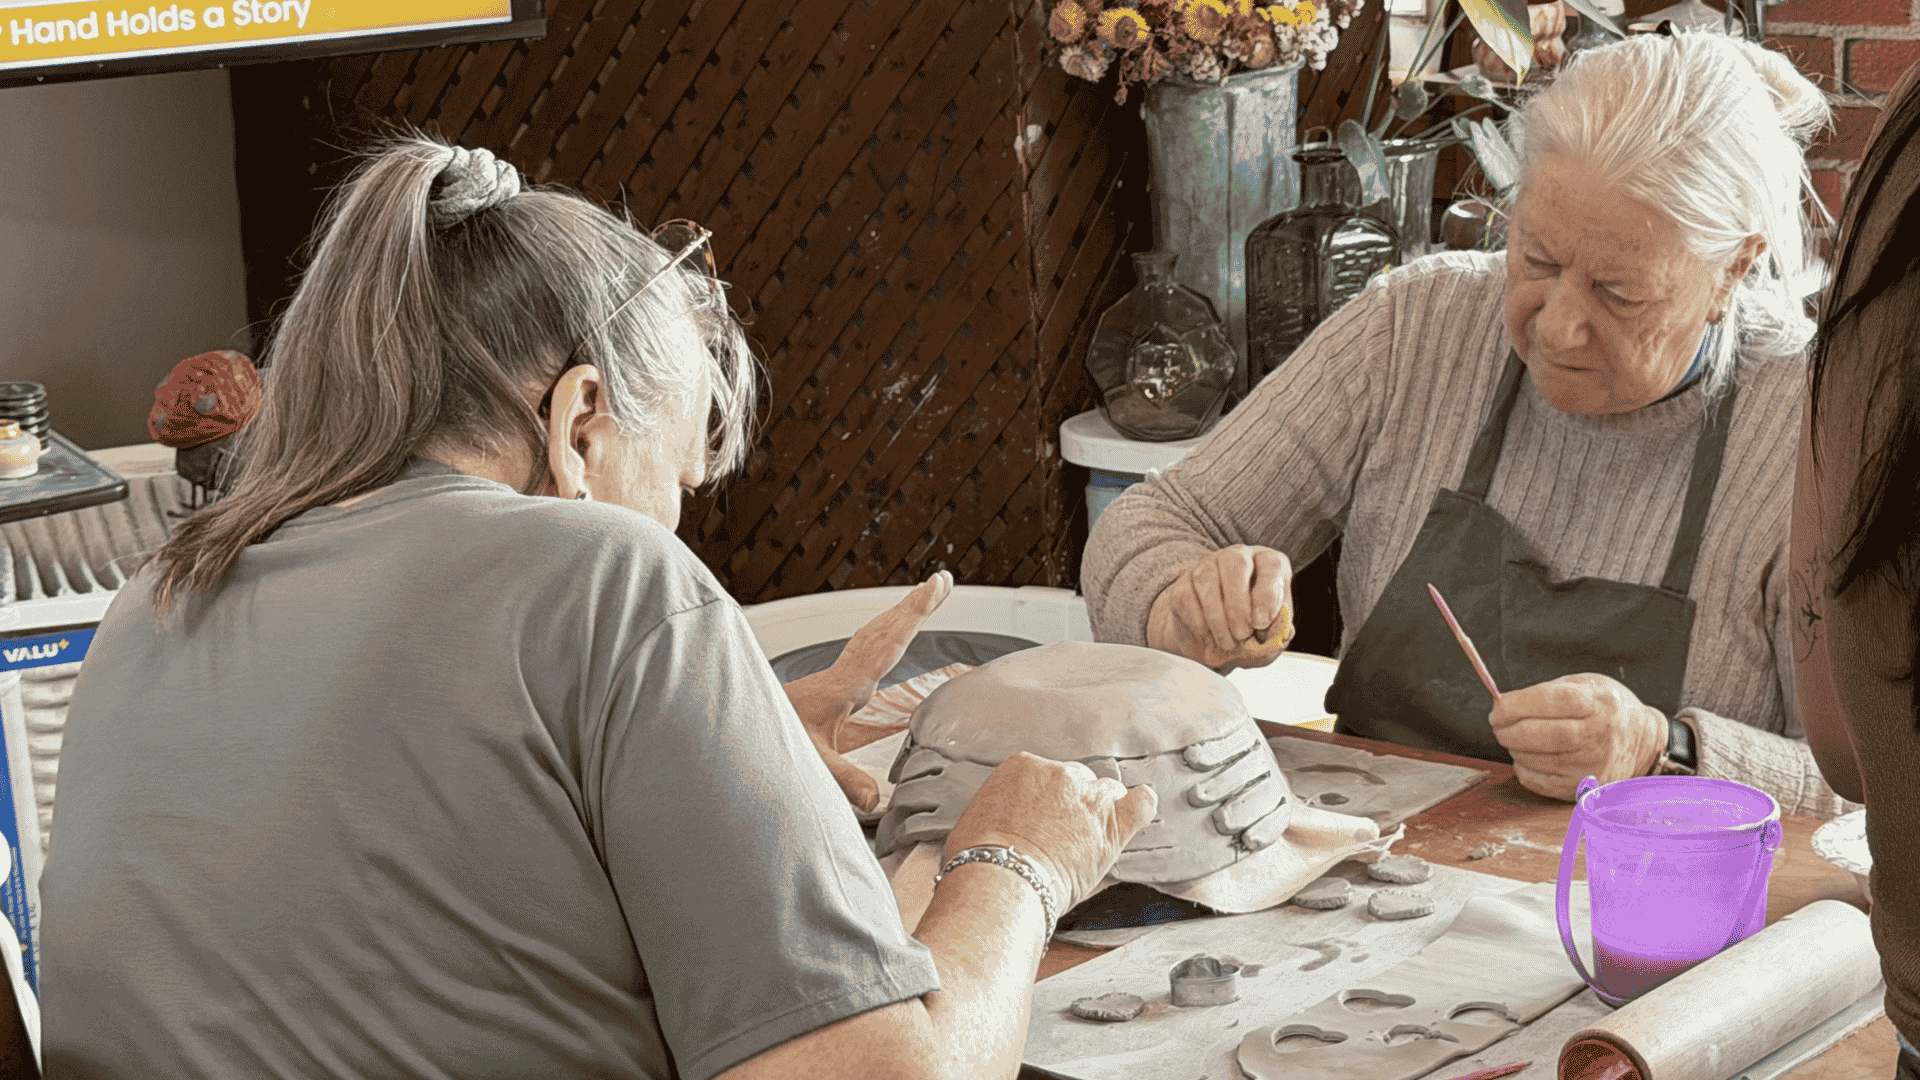
At Happy Hands Pottery & Art Studio, creativity isn’t just about making beautiful art, it’s about bringing the essence of our studio to life. Recently, I took on a project to capture the heart of our studio by creating a canvas that visually represents the four main areas we focus on: pottery, drawing, crafting, and painting. The result? A unique and detailed piece that now hangs proudly in our studio, showcasing what we’re all about.
How Did I Plan and Execute It? Timing, Materials, and Inspiration
This project was completed in a single sitting, which lasted around 6 hours. I started with a simple sketch of how I wanted to divide the canvas into four sections—each representing pottery, drawing, crafting, and painting. After preparing the materials, including mini clay pots, paints, cardboard for crafting, and other supplies, I jumped right into the process:

Materials Used:
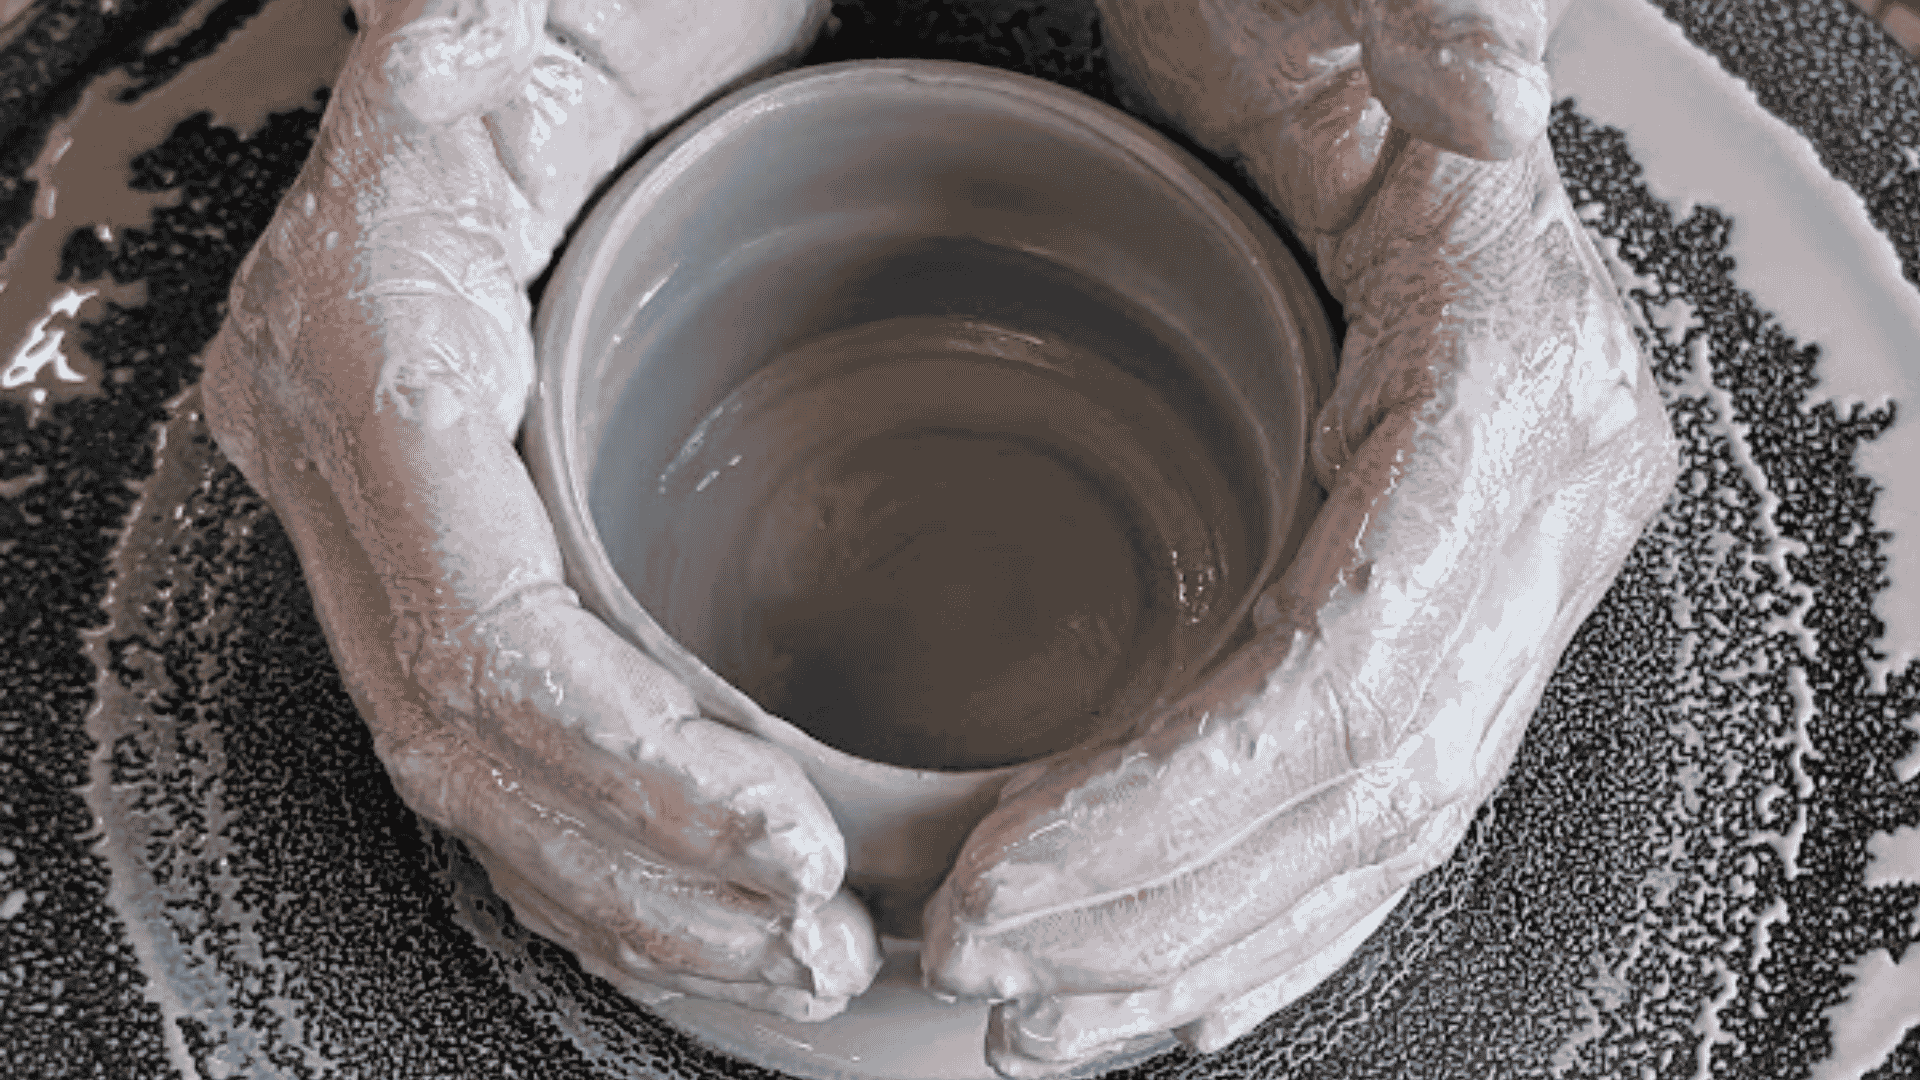
- Clay for miniature pots
- Acrylic paints and brushes
- Cardboard for mini easels and frames
- Miniature craft supplies like stars, flowers, and strings for decoration
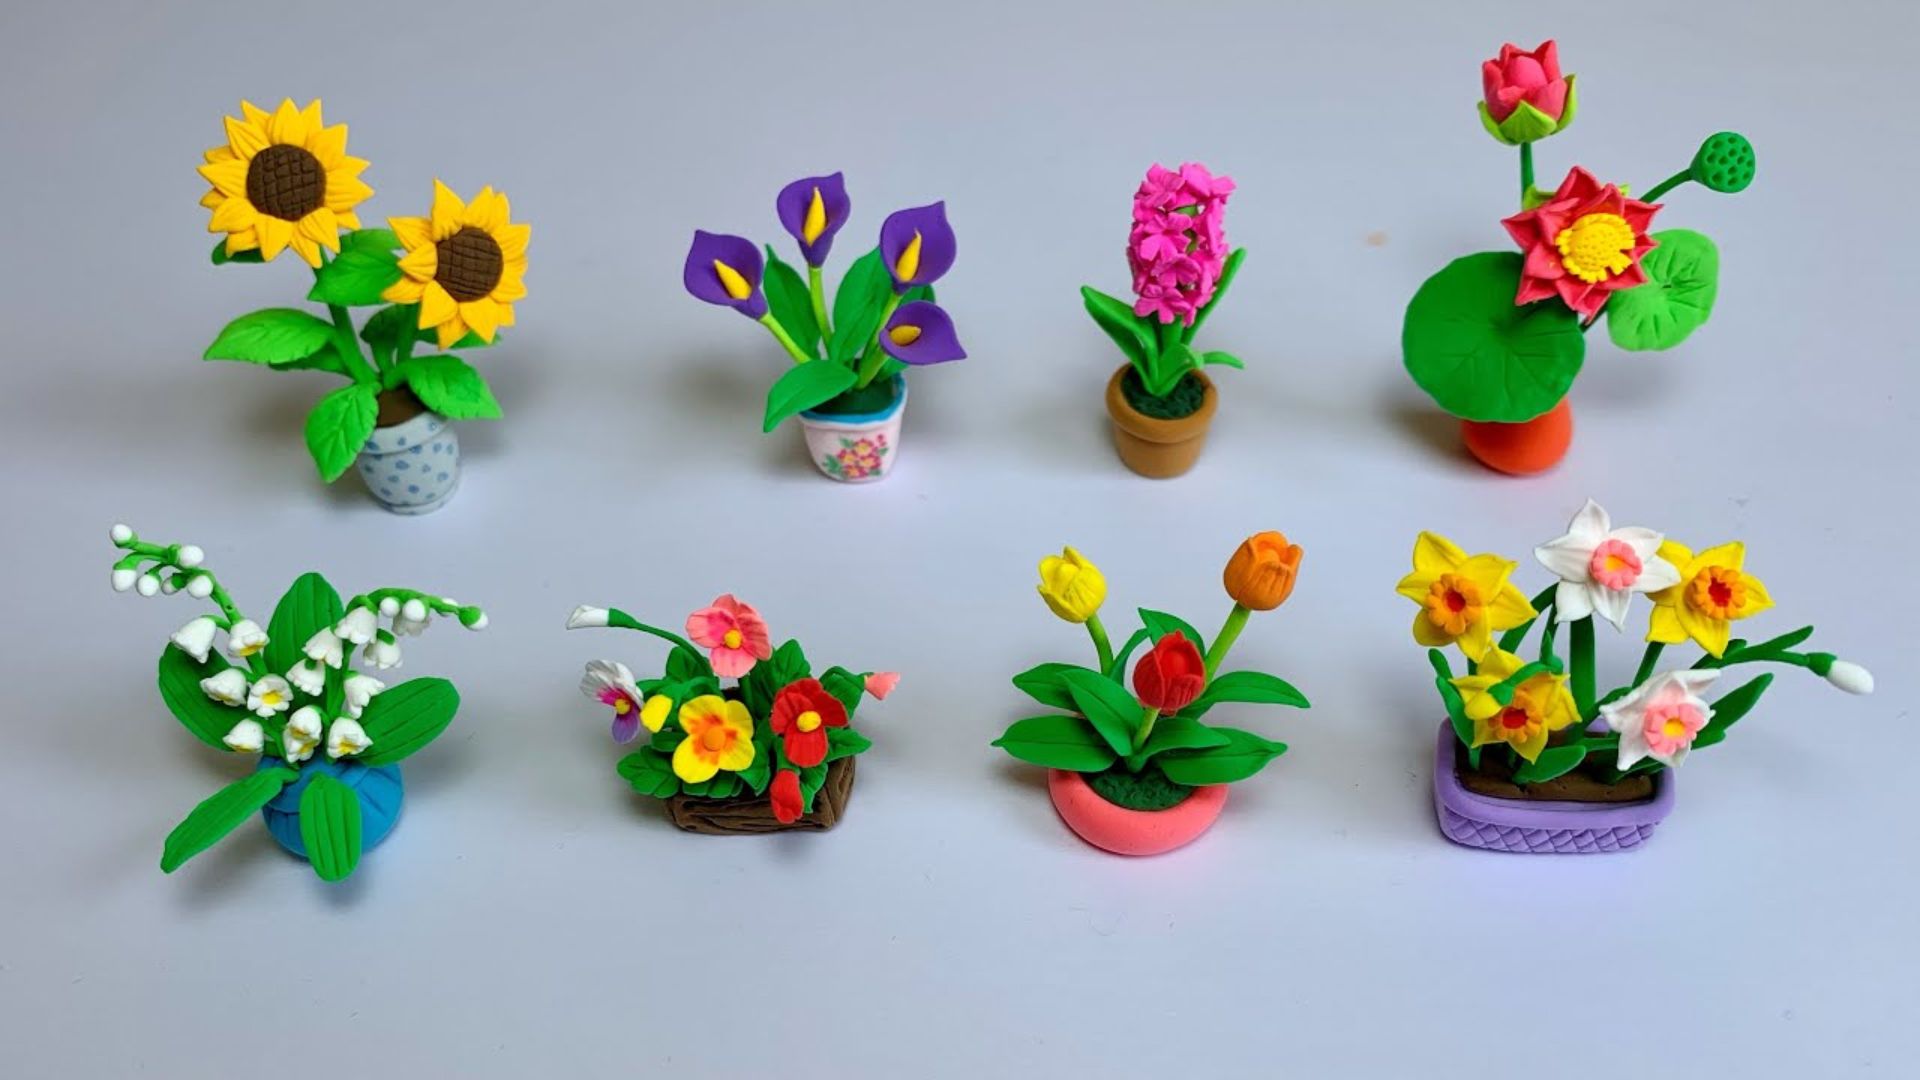
- DIY Plants to reflect our studio’s natural vibe
- Calligraphy materials for the title
- A wooden board and paper for the background design
Research Inspiration:
Inspiration for this piece came from our studio itself. I wanted to incorporate familiar elements, like the small plants we have in the studio, the unique wall décor from the crafting area, and the miniature tools used for pottery and painting. I was also inspired by the collaborative atmosphere in our studio, which led to involving other instructors like Natt and Sathya, who helped with specific sections.
Timing Breakdown:
Hour 1: Sketching the layout on the canvas and preparing the materials.
Hours 2-3: Creating the pottery and drawing sections. Each mini pot required precise detailing, while the sketches and tools needed careful placement.
Hour 4: Building the painting section with its easel, shelves, and mini artworks.
Hour 5: Crafting the wall décor and light table for the crafting section.
Hour 6: Adding plants and decorative details, followed by Sathya’s contribution of calligraphy to title the canvas
Challenges & Techniques:
The intensity of completing the entire project in one sitting presented some interesting challenges:
- Time Pressure: The 6-hour timeframe meant I had to work quickly but maintain precision. This was especially tricky when working with the clay pots and miniature drawings, where drying times and small details required focus.
- Detail Management: The small scale of the objects demanded fine motor control and detailed tools. For the painting section, I switched to tiny brushes and worked with minimal paint to avoid smudging or overworking the details.
- Collaboration: Natt and Sathya’s help were invaluable. Natt assisted with positioning the mini easels and correcting angles in the drawing section, while Sathya contributed her calligraphy skills to add the perfect title. Their input not only sped up the process but also added their unique touch to the final piece.

Interesting Techniques:
- Using a fan to speed up the drying of air-dry clay allowed me to keep moving forward without long wait times.
- The hot glue gun proved effective in securing the tiny objects, preventing them from falling or losing shape.
- Tiny brush strokes and layering techniques in the painting section helped me add depth, even at a miniature scale.
From planning and materials to execution and collaboration, every detail of this project was carefully crafted. The process involved sketching, creating miniature elements, and incorporating personal touches from our team. While challenges like time constraints and precise detailing added complexity, they also made the final result all the more rewarding.
For an in-depth look at how this canvas came together, including the step-by-step process and behind-the-scenes insights, be sure to check out Part 2 of the blog: Why This Project for the Grand Opening?. There, you’ll find a detailed exploration of the techniques and creative decisions that brought this unique project to life.

Related Articles

0 comments on "Bringing Happy Hands to Life: A Creative Studio Canvas"