
Easy Clay Projects for Kids at Home: Step-by-Step Ideas
Kids get restless. Screens get old. And you’re looking for something that keeps them busy for more than ten minutes without requiring a degree in arts and crafts.
Clay is one of the best answers we know. It’s hands-on, it’s quiet, and it ends with a finished object your child actually made. Easy clay projects for kids don’t require a kiln, special equipment, or a mess you can’t handle.
At Happy Hands Studio, we’ve taught easy clay projects to hundreds of kids between the ages of 5 and 12. We know what works at home, what falls apart after ten minutes, and what kids come back to again and again.
In this guide, you’ll find:
- 5 clay projects matched to different age groups and skill levels
- A simple supply list so you’re not overbuying
- Step-by-step instructions kids can follow on their own
- Tips on keeping the mess manageable

Quick Picks: Supplies for Easy Clay Projects for Kids
| Best Starter Clay: Air-Dry Clay Deluxe Multi-Color Set – Multiple colors, no kiln, dries solid overnight
Best Tool Set: Plastic Sculpting Tool Set (8-10 tools) – Safe edges, covers all five projects Best for Mess Prevention: Silicone Craft Mat (24” x 18”) – Wipes clean in under a minute Best for Finishing: Non-Toxic Acrylic Paint Set – Bright colors, adheres well to air-dry clay Best for Gift-Ready Projects: Mod Podge (Gloss) – One coat, protects paint, makes pieces look polished |
Why Air-Dry Clay Works Best at Home
Before we get into the projects, a quick note on materials.
Air-dry clay hardens on its own at room temperature in 24-48 hours. No oven, no kiln, no special equipment. That makes it the right choice for home projects across the board.
A few things worth knowing:
- Finished pieces are ready the next day – kids can see results fast
- Completely safe – no heat hazards, no toxic fumes
- Works in any home – apartment, small space, no studio needed
- Slightly less durable than kiln-fired clay, but more than enough for what kids make
All five easy clay projects for kids below use air-dry clay. No exceptions needed.
Supplies You Need for Clay Projects at Home
Five items cover everything you need for these easy clay projects for kids at home. You don’t need all five on day one – start with the first three and add the rest once you know your child is into it.
1. Air-Dry Clay
Best for: All ages, all five projects
Why it matters: This is the foundation of everything. Air-dry clay hardens at room temperature in 24-48 hours with no oven or kiln required. Multi-color packs (24-36 colors) keep kids engaged across multiple sessions and give them room to experiment without running out of options. Brands we’ve used in class without issues: Fimo Air and Sculpey Air – both soft enough for small hands and hold color well once dry.
What works:
- Hardens overnight with no equipment
- Soft and easy to work for ages 5 and up
- Multi-color packs eliminate mixing frustration
- Reseals for storage if you close it properly after each session
When it falls short:
- Less durable than kiln-fired clay – thin walls can crack over time
- Dries out fast if left open – always reseal between uses
- Colors can bleed into each other if hands aren’t wiped between colors
Price range: $15-$25 for a multi-color kit
Shop Air-Dry Clay Kits on Amazon

2. Plastic Sculpting Tool Set
Best for: Ages 5+, all projects
Why it matters: Kids can do a lot with just their hands, but tools open up details they can’t create otherwise – clean cuts, pressed textures, smooth seams, poked holes. A set of 8-10 plastic tools covers all of that. Plastic over metal matters here: no sharp edges that can slip, easy to clean, and they last for years. Most sets include a flat tool, ball stylus, loop tool, and a few carving options – that range handles everything in this guide.
What works:
- Safe rounded edges for all ages
- Ball stylus creates dot textures kids love
- Loop tool smooths uneven surfaces quickly
- Easy to rinse clean between colors
When it falls short:
- Cheap sets can feel flimsy – worth spending a bit more for solid plastic
- Won’t cut perfectly clean lines (that’s fine for most of these projects)
Price range: $8-$12 for a full set
Browse Plastic Sculpting Tool Sets on Amazon

3. Silicone Craft Mat
Best for: All ages, mess prevention
Why it matters: This is the one thing most parents skip and then wish they hadn’t. Clay sticks to wood, stains untreated surfaces, and slides around on smooth tables mid-project. A silicone mat eliminates all three problems. It protects the table, gives kids a stable non-slip surface, and wipes completely clean in under a minute. The 24” x 18” size handles any of these projects without crowding.
What works:
- Clay doesn’t stick to silicone – pieces lift off cleanly
- Wipes clean in seconds, no scrubbing
- Non-slip surface keeps work stable
- Durable enough to last years of regular use
When it falls short:
- Doesn’t protect walls or floors – still worth laying down newspaper underneath for younger kids
- Can discolor slightly over time with heavy paint use
Price range: $12-$18
Shop Silicone Craft Mats on Amazon

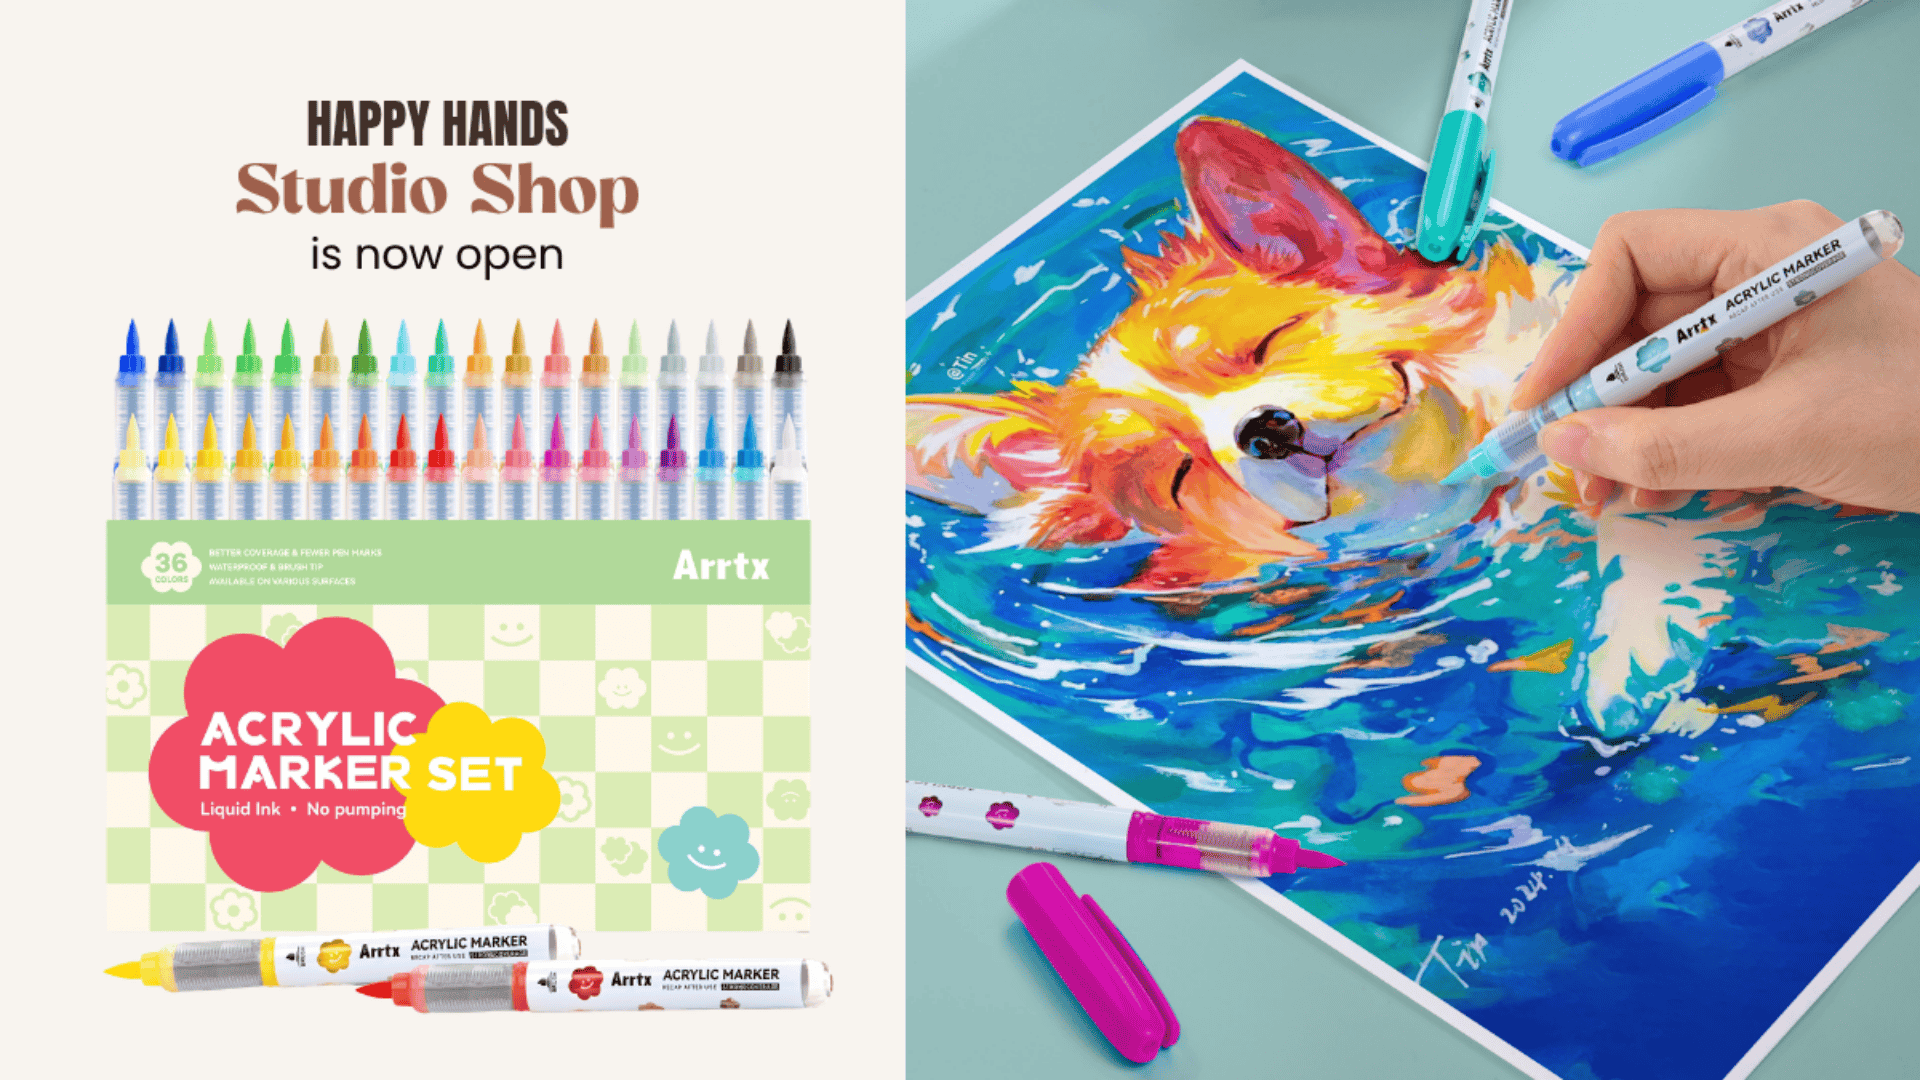
4. Acrylic Paint Set (Non-Toxic)
Best for: Ages 5+, decorating finished pieces
Why it matters: Paint is what turns a dried clay piece from rough to finished. Non-toxic, water-based acrylic is the right choice for air-dry clay – it adheres well, dries fast, and doesn’t crack on the surface. A 12-18 color set gives kids enough range to do what they want without needing to mix. Critical rule: always wait until clay is fully dry (24-48 hours) before painting. Painting wet clay leads to peeling.
What works:
- Sticks well to air-dry clay surface
- Dries in 15-20 minutes between coats
- Water-based – brushes clean up easily
- Bright, vivid colors that hold well once sealed
When it falls short:
- Will peel if applied to wet or damp clay
- Thin coats may need two layers for full coverage on textured surfaces
- Without a sealer coat on top, paint can scratch off over time
Price range: $10-$15 for a 12-18 color set
Shop Non-Toxic Acrylic Paint Sets on Amazon

5. Mod Podge or Gloss Sealer
Best for: Ages 7+ (with supervision), gift-ready projects
Why it matters: One coat of sealer is the difference between a project that looks like a craft and one that looks like something you’d actually keep. Mod Podge in gloss finish is the easiest option: brush it on, let it dry for 20 minutes, done. It protects the paint from scratching and chipping, adds a smooth finish, and makes pieces feel more substantial. Non-toxic and water-based, so cleanup is easy. One bottle goes a long way.
What works:
- Protects paint from everyday wear
- Adds a polished, finished look
- Brush-on application – easy for kids with supervision
- One bottle covers dozens of projects
When it falls short:
- Adds an extra drying step – not worth it for projects that are just for fun
- Can leave brush streaks if applied too thick – thin, even coats work best
- Gloss finish isn’t for everyone – matte version available if preferred
Price range: $8-$12 per bottle

Easy Clay Project #1: Rainbow Coil Bowl (Ages 5+)
| Time: 20-30 minutes
Skill Level: Beginner End Result: A colorful bowl they can actually use or give as a gift |
Coil bowls are the most forgiving first project in clay. No symmetry required, no precision needed. Kids roll, stack, and shape – and the irregularity is part of the charm.
Steps
Roll 5-6 coils, each about the thickness of a pencil. A ping-pong ball of clay per coil is the right amount.
Spiral the first coil flat on your mat. This is the base of the bowl.
Stack the remaining coils one by one on top of the base. Press the sides inward slightly as you go to build the bowl shape.
Use a plastic tool to blend where coils meet – or leave them separate for a striped look. Both work.
Set aside for 24-48 hours. Once dry, paint or leave natural.
| Age tip: Ages 5-6 need help rolling the initial coils. Ages 8+ can handle the whole project independently. |

Easy Clay Project #2: Hand Print Keychain (Ages 5+)
| Time: 15-20 minutes
Skill Level: Beginner End Result: A keepsake they or someone they love will actually carry |
Simple to make, genuinely meaningful. Hand print keychains are one of the most requested projects in our kids’ classes – because the result is something real.
Steps
- Flatten a piece of clay to about ¼ inch thick. Use the bottom of a cup if you don’t have a roller.
- Press your child’s hand firmly into the clay. Deep enough to see palm and finger detail, but not all the way through.
- Use a plastic tool to cut around the hand outline, leaving a small border.
- Poke a small hole near the top with a toothpick. Make it slightly larger than a keyring.
- Let dry for 24-48 hours. Paint, write their name with a marker, and attach a keychain ring.
These work well as gifts for grandparents, teachers, or anyone who’ll actually use a keychain. The hand size on a piece of clay is the kind of thing people keep.

Easy Clay Project #3: Textured Treasure Stone (Ages 6+)
| Time: 20 minutes
Skill Level: Beginner-Intermediate End Result: Smooth textured stones kids can fidget with, display, or paint |
This one holds kids’ attention longer than you’d expect. Something about pressing textures into clay is genuinely satisfying. No specific outcome required – the process is the point.
Steps
- Roll clay into a smooth oval or egg shape, about golf-ball size.
- Use plastic sculpting tools to press patterns into the surface: dots, lines, wavy marks, whatever the child invents.
- Smooth any rough patches with a damp finger.
- Let dry for 24-48 hours. Paint and seal for a polished look, or leave natural.
| What to expect: Kids often abandon the plan and make something completely different. That’s the right outcome. Let them. |

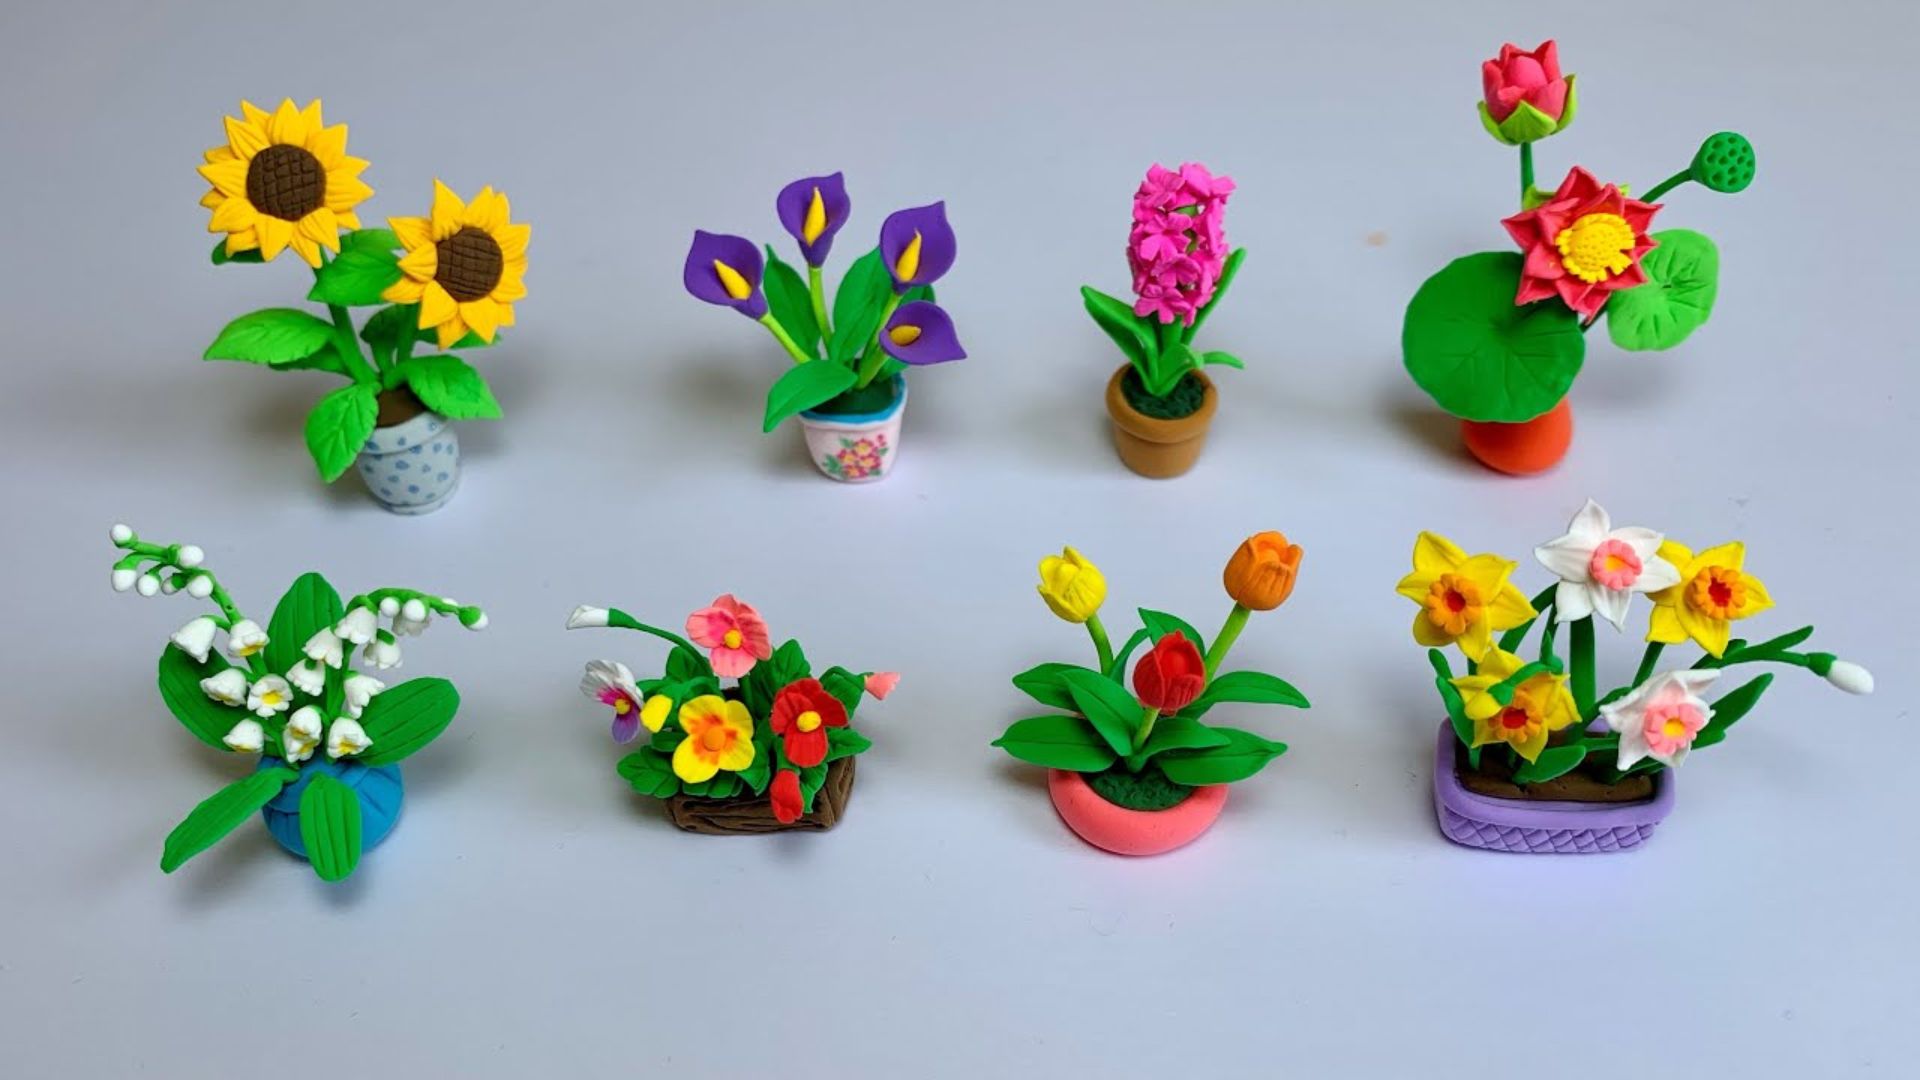
Easy Clay Project #4: Mini Flower Pot (Ages 7+)
| Time: 25-30 minutes
Skill Level: Intermediate End Result: A painted pot that holds a tiny plant, jewelry, or small items |
Pinch pots are one of the oldest clay techniques in the world. Kids ages 7 and up can make a real, functional pot in one sitting – something they’ll want to put on their desk.
Steps
- Start with a golf-ball size piece of clay. Push your thumb into the center.
- Pinch and rotate: use thumb and fingers to slowly widen the opening, keeping walls about ¼ inch thick.
- Smooth the rim with a damp finger so it’s even.
- Add detail: carve lines on the outside, press in a pattern, or add a small clay face for character.
- Poke a small drainage hole in the base if they plan to use it for a plant.
- Let dry 24-48 hours. Paint, then seal.
Easy Clay Project #5: Slab Art Ornament (Ages 8+)
| Time: 25-35 minutes
Skill Level: Intermediate End Result: A hanging ornament that looks like it came from a craft shop |
Slab work is where clay starts to feel like real art. Older kids can cut clean shapes, add layered details, and end up with something they’re genuinely proud to hang or give away.
Steps
- Flatten clay to about ⅛ inch thick using a rolling pin or cup bottom.
- Cut into a shape: star, heart, tree, animal, or freeform. Cookie cutters work here.
- Add detail: press smaller clay shapes on top (use water as glue), draw patterns with a tool, or press in small objects for texture.
- Poke a hole near the top for hanging before it dries.
- Let dry 24-48 hours. Paint and seal. Thread ribbon or string through the hole

Supply Comparison: What to Buy and Why
| Supply | Best For | Price | Why It’s Worth It |
|---|---|---|---|
| Air-Dry Clay Multi-Pack | All 5 projects | $15-$25 | No kiln, safe, kids see results in 1 day |
| Plastic Tool Set | All 5 projects | $8-$12 | Safe edges, easy cleanup, lasts a long time |
| Silicone Craft Mat | Mess prevention | $12-$18 | Protects your table, wipes clean in seconds |
| Acrylic Paint Set | Decorating finished pieces | $10-$15 | Non-toxic, water-based, bright finish on dried clay |
| Mod Podge (Gloss) | Sealing gift-ready projects | $8-$12 | Protects paint, adds a clean polished look |
What to Do When Things Go Wrong
Clay at home doesn’t always go to plan. Here’s what actually happens and how to handle it.
The clay dried out mid-project
Wrap it in a damp paper towel and leave it for 15 minutes. Air-dry clay can be brought back if it hasn’t fully hardened. If it has, that project is done – start fresh.
The colors all got mixed into brown
This is extremely common. Tell them they invented a new color and ask what it’s called. Reframing it as a creative outcome works better than treating it as a mistake.
A piece broke after drying
Air-dry clay can be fragile at thin points. Use a drop of strong craft glue to rejoin pieces. Thicker walls dry stronger – worth noting for next time.
They want to paint before it’s dry
Don’t. Paint won’t stick properly to wet clay and will peel off. The 24-48 hour wait is non-negotiable. Build that expectation in before they start.
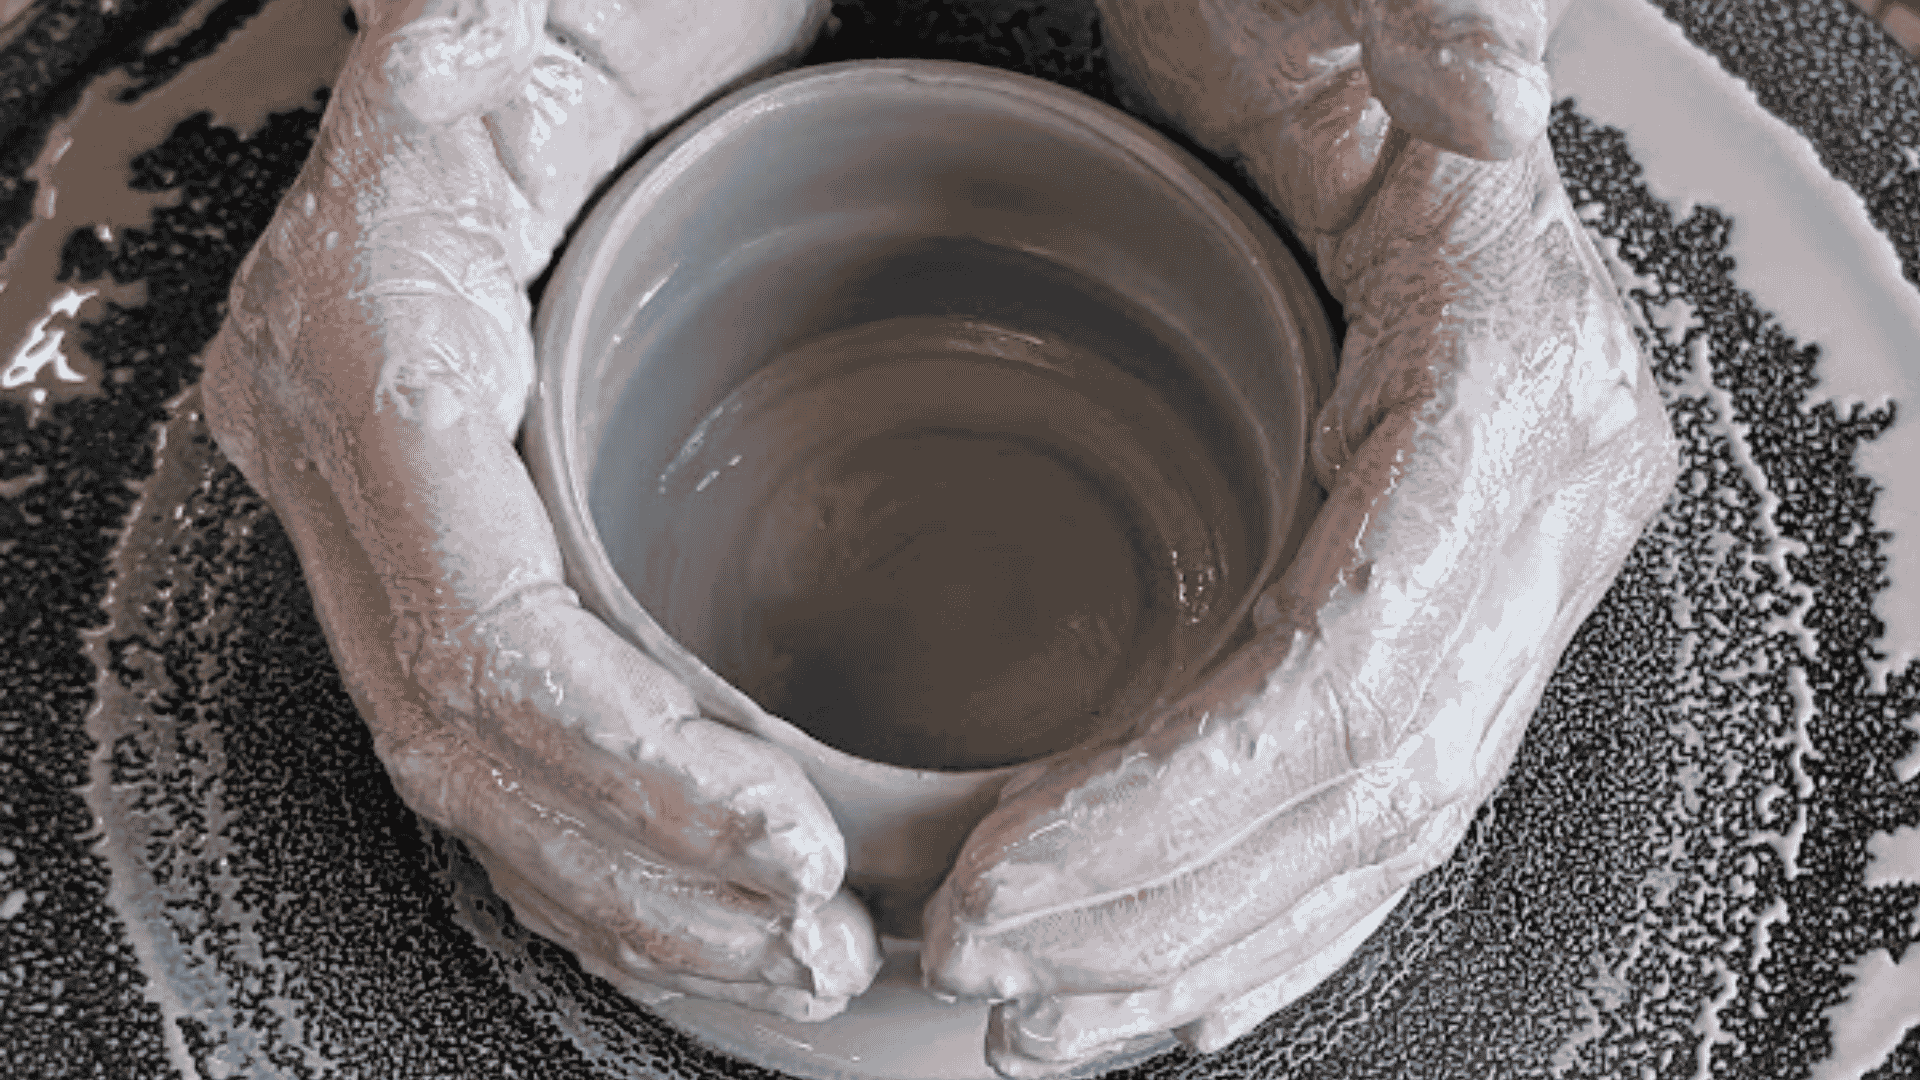
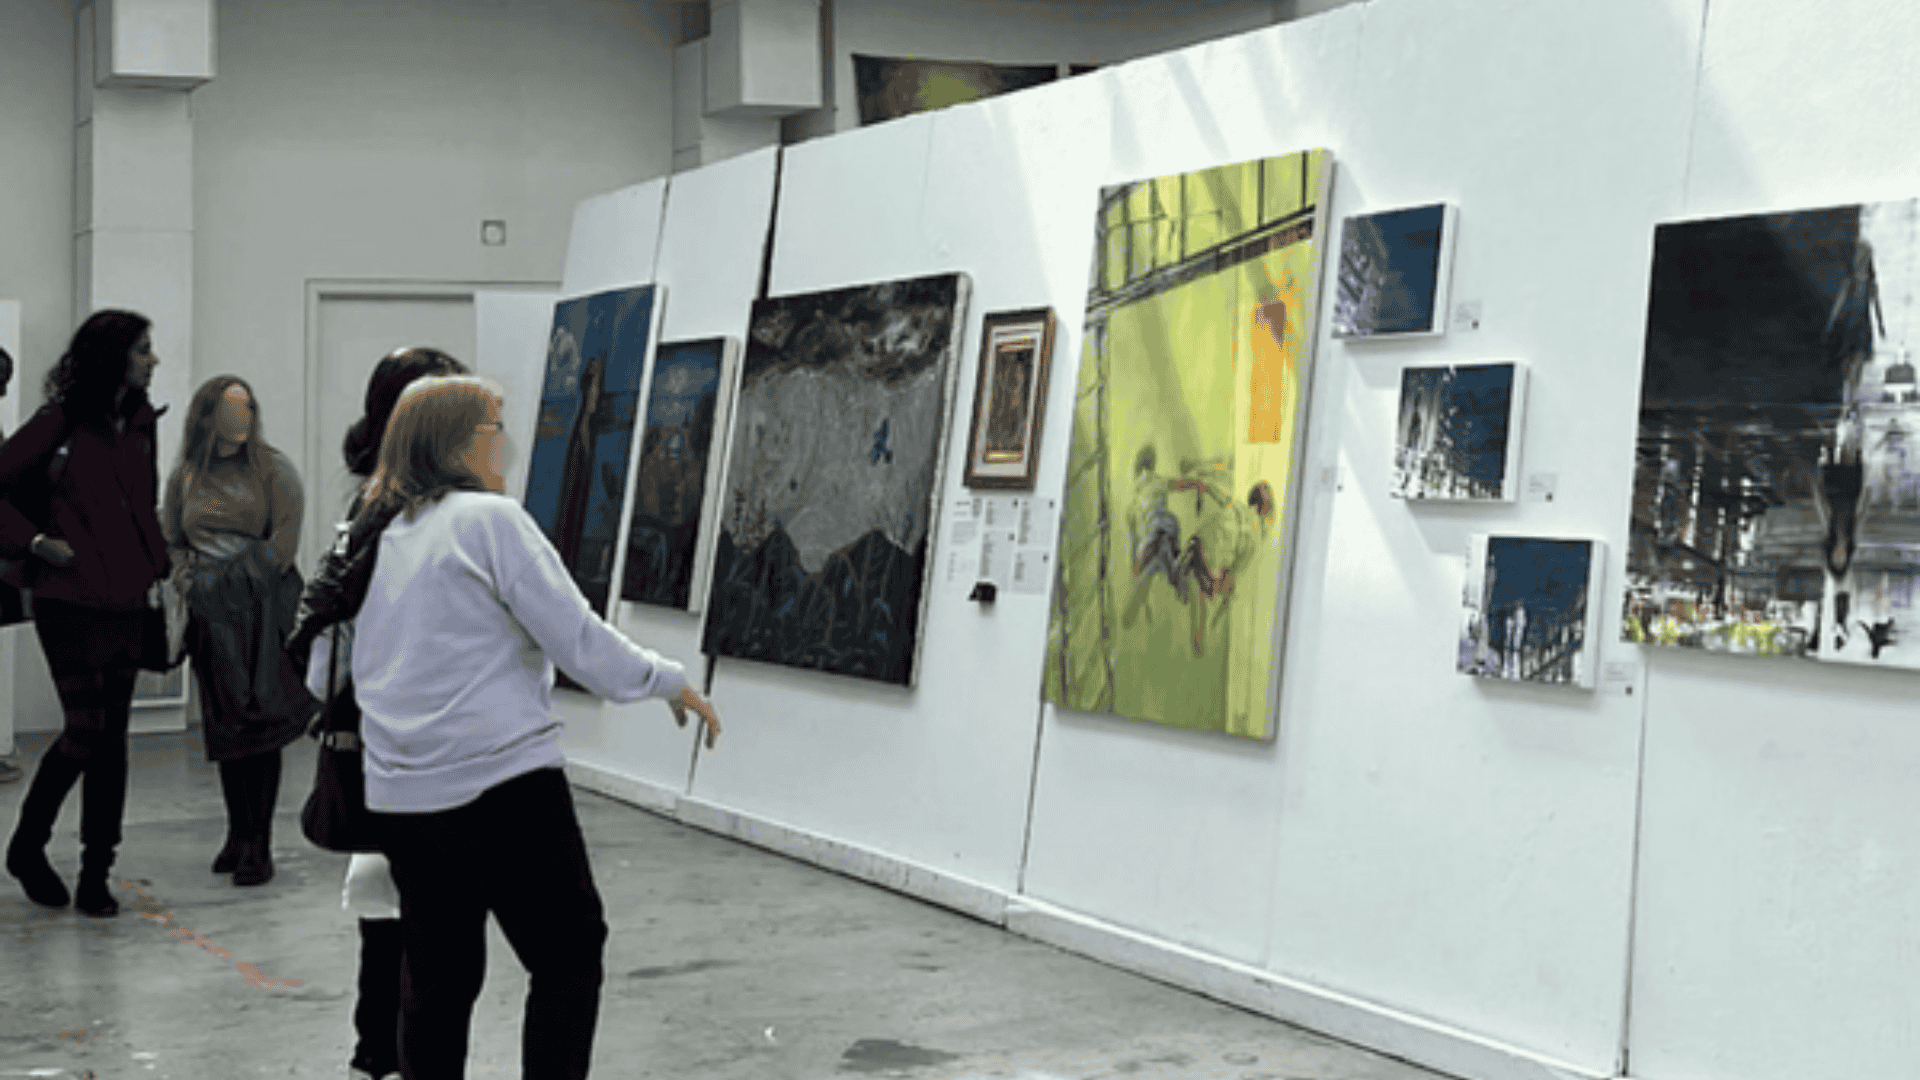
Take It Further at Happy Hands Studio
These easy clay projects for kids are a great starting point. If your child enjoys working with clay and wants to go further – real wheels, real kilns, guidance from an instructor – we’d love to have them in the studio.
Our kids’ pottery classes are small-group, all-ages, and designed for kids who are ready to go beyond air-dry clay.
Check out our Kids’ Pottery Classes:
- Parent-Child Workshop: Create a Sweet-Themed Ceramic Storage Container
- It’s Raining Cats and Dogs Workshop

FAQs: Easy Clay Projects for Kids at Home
Will air-dry clay stain my table?
Wet clay can leave marks on untreated wood or fabric. A silicone mat ($12-18) eliminates that problem entirely. It’s the most useful thing you can add to this setup.
How long do these projects actually take?
Making time is 15-35 minutes depending on the project. Drying is 24-48 hours. Decorating adds another 15-30 minutes. Most kids stay engaged through the making part and then check back the next day.
Can a 5-year-old do these independently?
Mostly. Ages 5-6 need help rolling coils and flattening clay, but they can shape, stack, press, and decorate on their own. Sitting nearby makes it more fun for both of you.
Do I need special clay, or can they use Play-Doh?
Play-Doh dries out and cracks – it’s not designed to harden into a finished piece. Air-dry clay is made for exactly this. It’s worth the few extra dollars per pack.
Can they paint before the clay dries?
No. Paint won’t adhere properly to wet clay and will peel once it dries. Full 24-48 hours first, then paint.
What if they want to make something not on this list?
Let them. These five projects are starting points, not rules. If they know the basics – rolling, pinching, flattening, pressing – they can make almost anything.
Start with One Easy Clay Project for Kids
You don’t need a kiln, a studio, or expensive supplies to make something your child will be proud of.
Pick one easy clay project for kids from this list. Grab some air-dry clay and a silicone mat. Set aside 30 minutes.
The projects are simple enough that kids can lead. Your job is mostly to not hover.
What they make might not look like the photos. That’s fine – it’s theirs.

Related Articles
0 comments on "Easy Clay Projects for Kids at Home: Step-by-Step Ideas"