
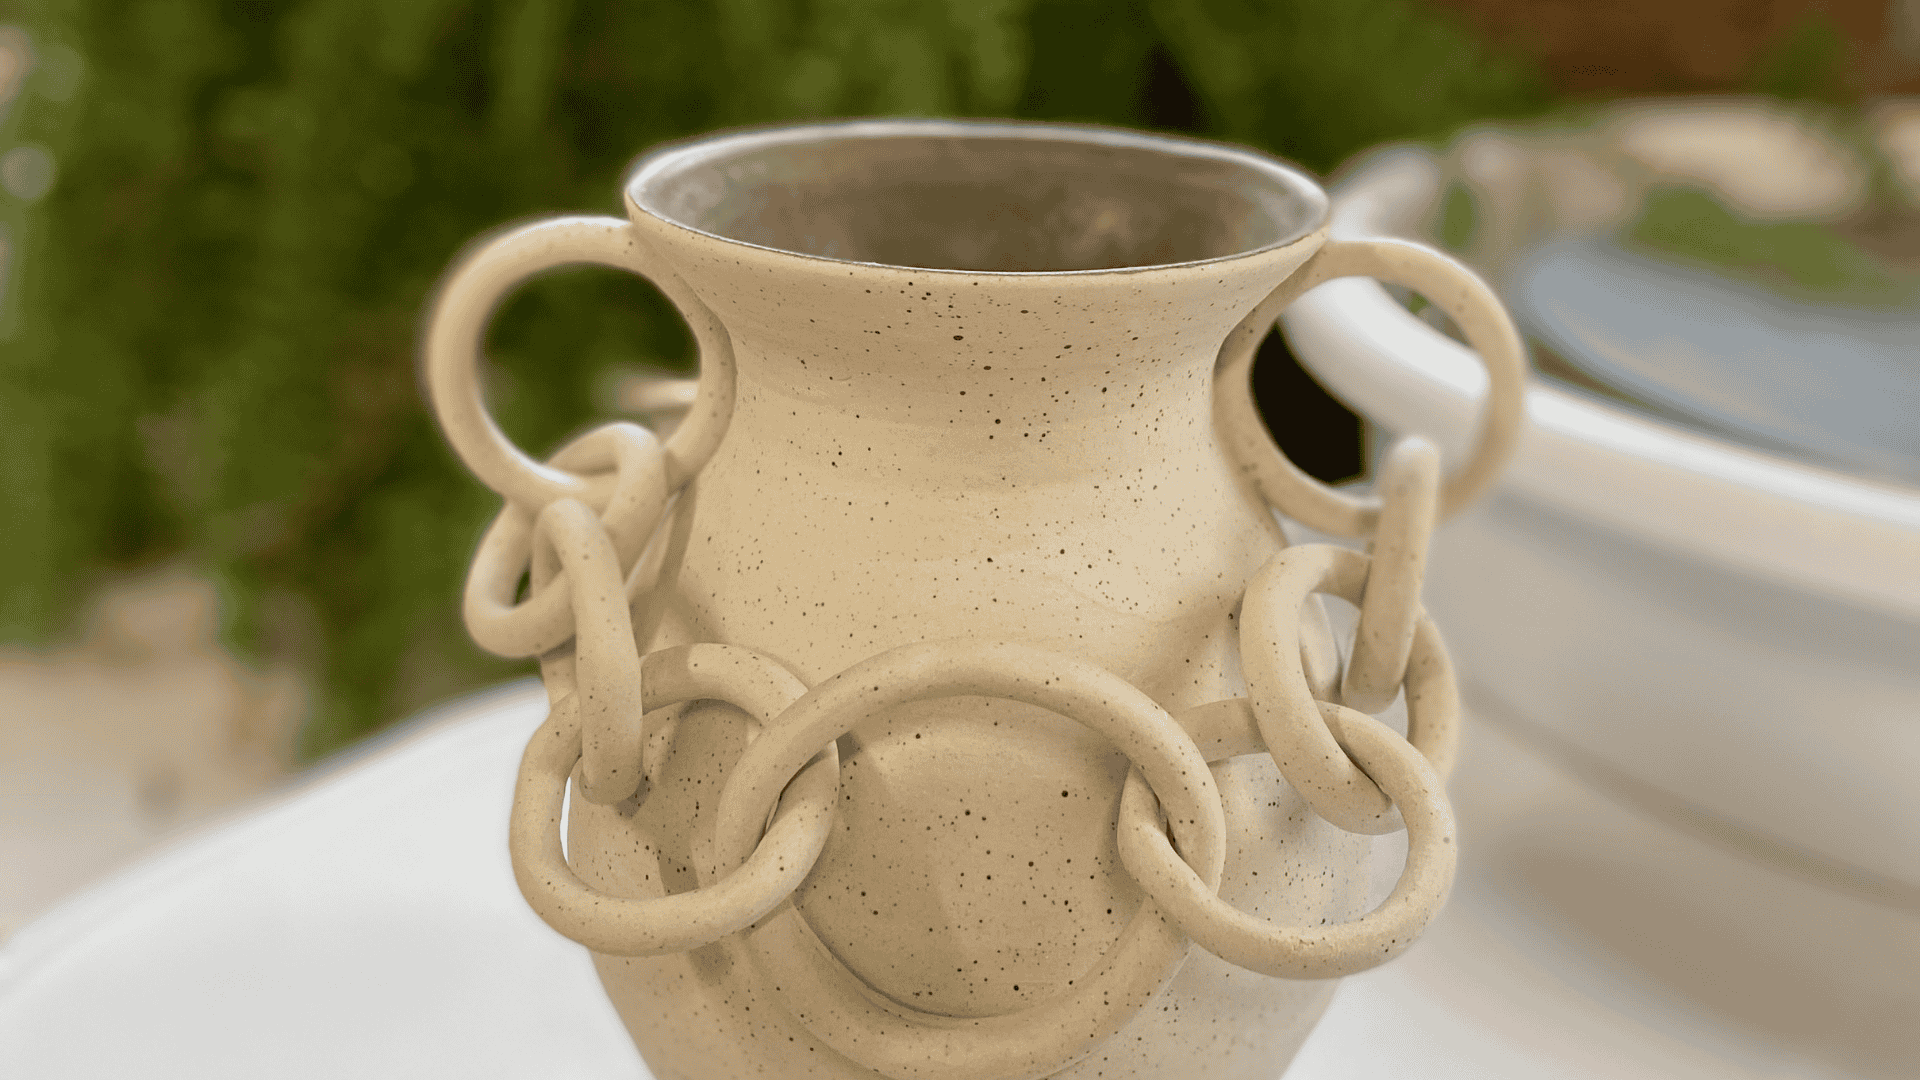
At-Home Pottery: Top Tips for Working with Air-Dry and Polymer Clay
Pottery is a rewarding and relaxing hobby that you can easily enjoy at home, thanks to versatile materials like air-dry clay and polymer clay. These clays don’t require a kiln, making them ideal for beginners and hobbyists. Whether you’re crafting trinket dishes, figurines, or decorative items, these tips will help you get started and create beautiful, durable pieces.
1. Choose the Right Clay for Your Project
Both air-dry and polymer clays are excellent options, but they have different characteristics:
- Air-Dry Clay: This clay hardens naturally when exposed to air. It’s great for larger projects and has a matte, ceramic-like finish when dry.
- Polymer Clay: This clay requires baking in a home oven to cure. It’s ideal for intricate details, small items like jewelry, and projects needing vibrant colors.
Choose the clay that best fits your project and tools.
2. Prepare Your Workspace
Set up a clean, flat surface for your clay work. Use a non-stick mat or wax paper to prevent the clay from sticking to your table. Keep these tools handy:
- Rolling pin or acrylic rod for flattening
- Sculpting tools (toothpicks, knives, or dedicated clay tools)
- Water or clay softener (for air-dry clay)
- Wet wipes or a damp cloth to keep your hands and tools clean
Having an organized space will make the process smoother and more enjoyable.
3. Condition Polymer Clay Before Use
Polymer clay can feel stiff straight out of the package. To make it pliable:
- Knead the clay thoroughly in your hands to warm it up.
- Use a rolling pin or pasta machine to repeatedly flatten and fold the clay.
Proper conditioning prevents cracks and ensures a smooth finish after baking.
4. Keep Air-Dry Clay Moist
Air-dry clay dries out quickly, so work in smaller sections and keep unused clay covered with plastic wrap or in an airtight container. If your clay starts to dry while working:
- Spritz it lightly with water.
- Smooth cracks or seams with a damp sponge or your fingers.
Avoid over-wetting, as this can weaken the clay.
5. Build Strong Structures
For both types of clay, create a strong foundation for your projects:
- Air-Dry Clay: Use an armature, such as aluminum foil or wire, for larger pieces to prevent sagging.
- Polymer Clay: Ensure pieces are securely attached by blending seams with a sculpting tool or adding a bit of liquid polymer clay as adhesive.
This extra step will improve the durability of your creations.
6. Cure Your Clay Correctly
- Air-Dry Clay: Allow your piece to dry completely before painting or sealing. Drying times vary depending on the size but typically range from 24-72 hours. Place it on a non-stick surface to prevent sticking or warping.
- Polymer Clay: Follow the manufacturer’s baking instructions carefully. Bake at the recommended temperature and time to avoid burning or under-curing. Use a ceramic tile or parchment paper to prevent shiny spots from direct contact with your baking sheet.
7. Finishing Touches
Once cured, you can add finishing details to your clay creations:
- Sanding: Smooth rough edges with fine-grit sandpaper.
- Painting: Use acrylic paints to add color and design. Seal air-dry clay with varnish for added durability.
- Glazing Polymer Clay: Apply a polymer-compatible glaze for a glossy finish.
These final steps will elevate your creations and make them look polished.
8. Experiment and Have Fun
Don’t be afraid to experiment with different techniques and designs. Try texturing your clay with household objects, like lace, leaves, or stamps. Mix colors in polymer clay to create marbled effects, or layer air-dry clay to add dimension. The possibilities are endless!
Working with air-dry and polymer clay at home is a fun and accessible way to explore pottery without needing a kiln. With the right tools, techniques, and a bit of patience, you can create stunning clay pieces that showcase your creativity. So grab some clay and start crafting—your next masterpiece is just a roll, sculpt, or bake away!

Related Articles


0 comments on "At-Home Pottery: Top Tips for Working with Air-Dry and Polymer Clay"