
Essential Pottery Handbuilding Tips for Beginners
Are you ready to dive into the world of pottery and explore the art of handbuilding? Whether you’re a beginner or looking to refine your skills, mastering handbuilding techniques is a rewarding experience. In this guide, we’ll cover essential pottery handbuilding tips to help you create beautiful and unique pieces.
Understanding the Basics of Pottery Handbuilding
Handbuilding is one of the oldest pottery techniques, allowing artists to create pieces without the use of a potter’s wheel. It involves shaping clay using your hands, fingers, and simple tools. The three main methods are pinching, coil building, and slab building.

1. Pinching
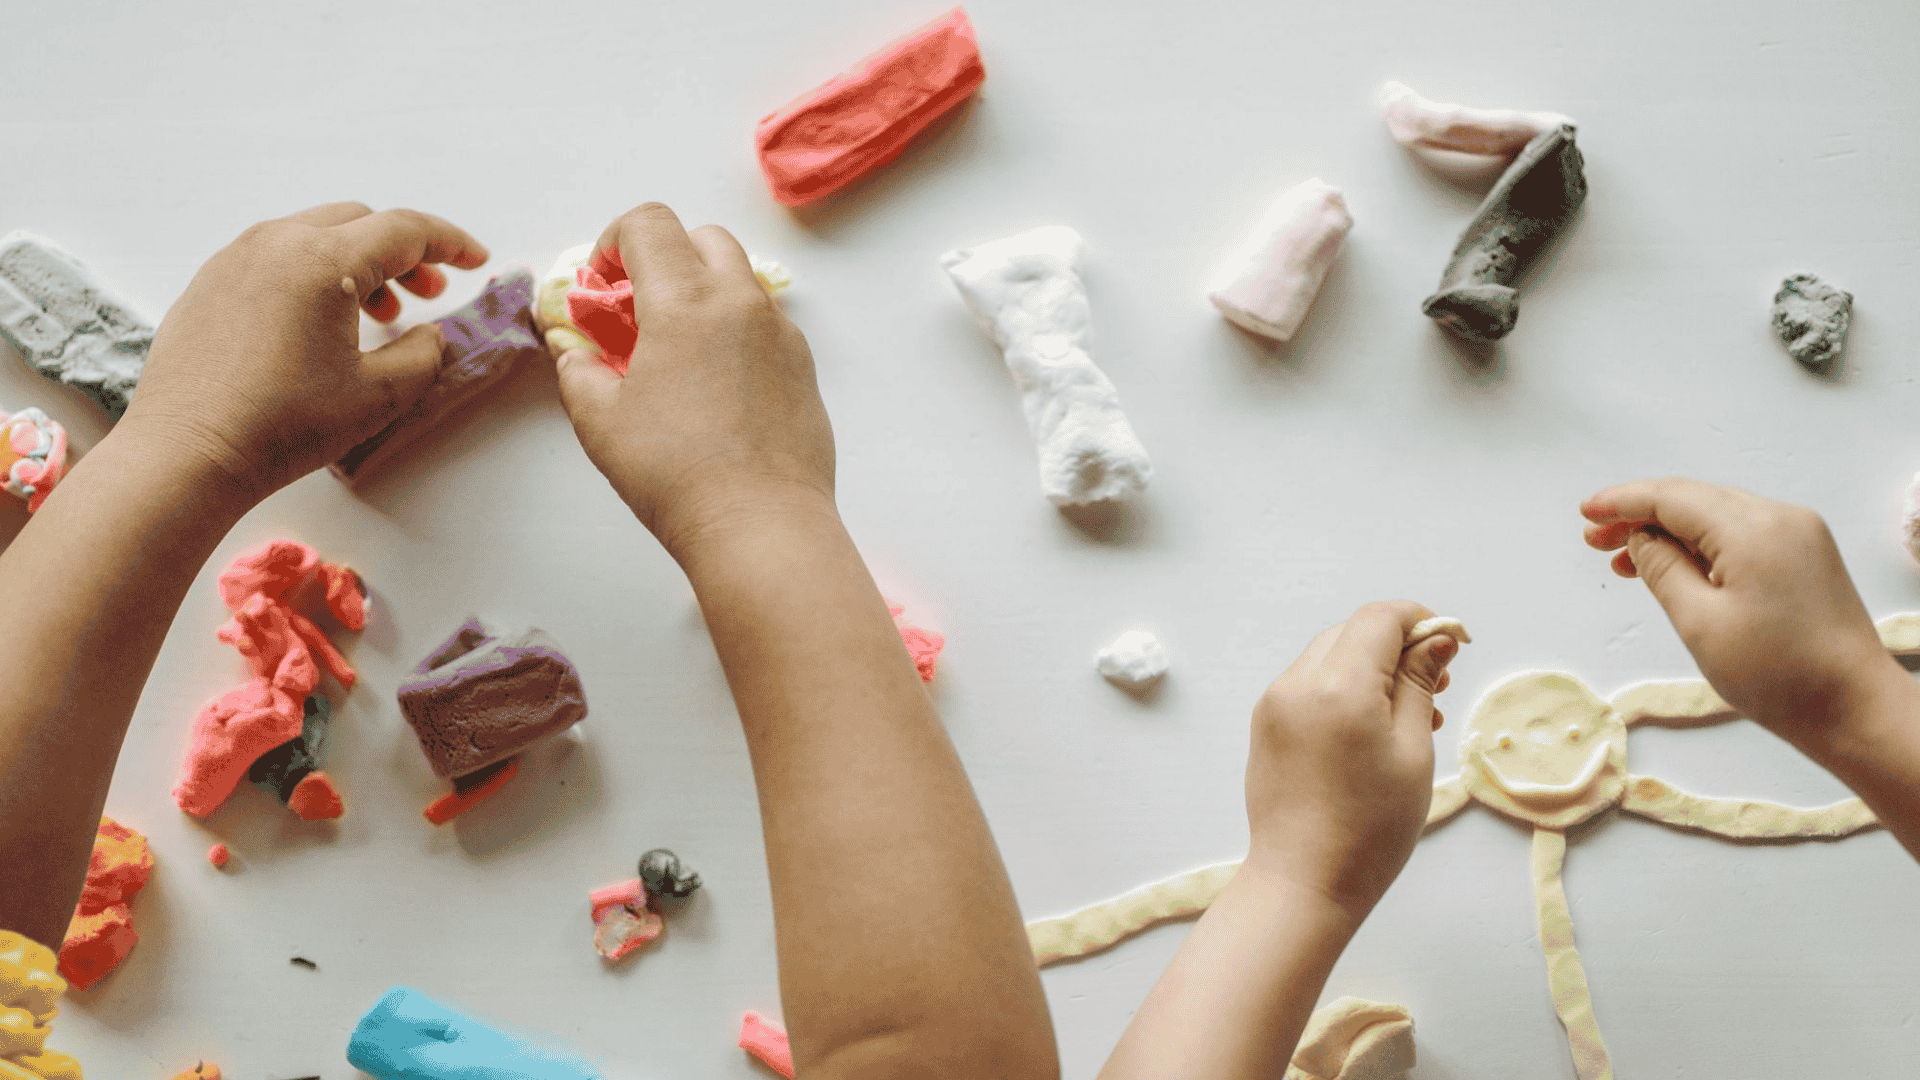
Pinching is the simplest form of handbuilding and a great starting point for beginners. Start with a small ball of clay and press your thumb into the center. Gradually pinch and rotate the clay to form a bowl shape. This technique is perfect for creating small vessels and organic shapes.
2. Coil Building
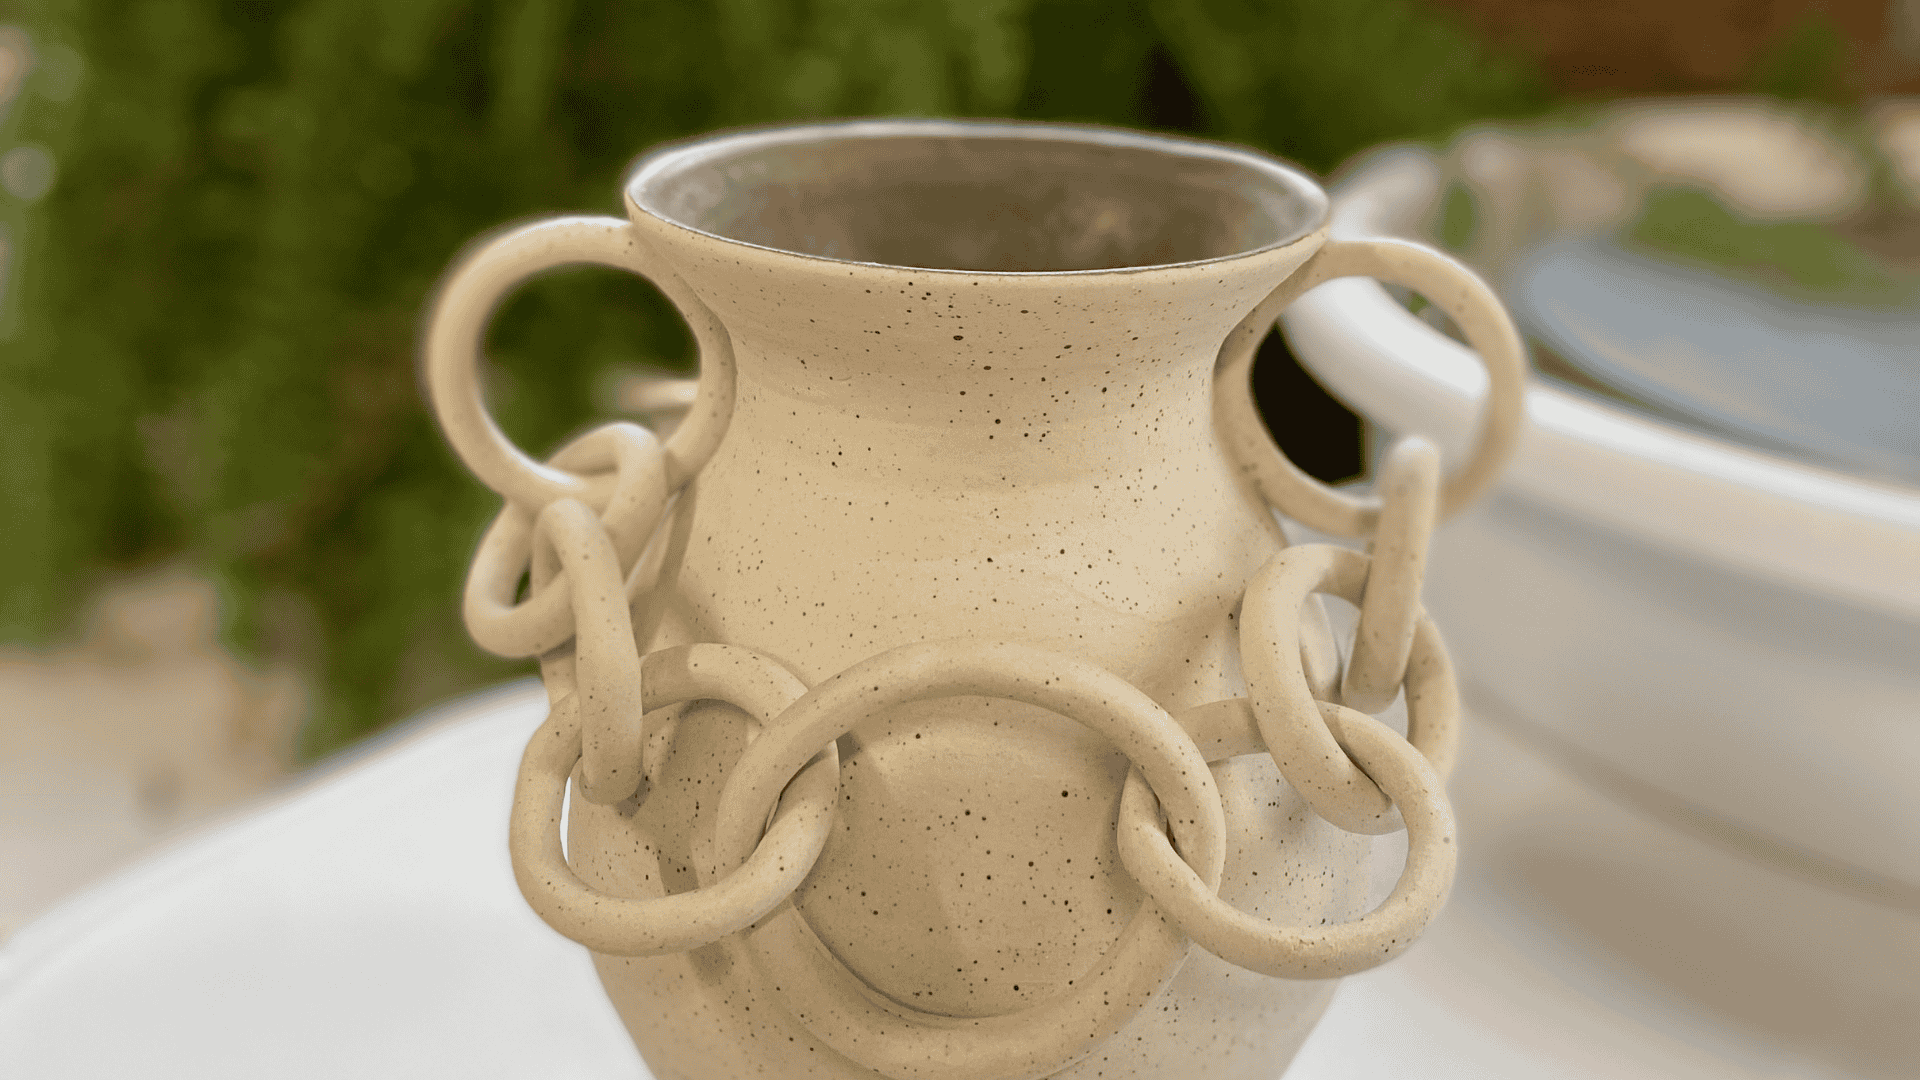
Coil building involves rolling clay into long, snake-like coils and stacking them to build walls. This method is excellent for making larger pieces like vases and pots. To ensure your coils adhere well, score and slip the surfaces before attaching them.
3. Slab Building
Slab building uses flat pieces of clay that are cut and joined together. Use a rolling pin to flatten the clay to an even thickness, then cut out shapes for your project. Assemble the pieces using scoring and slipping techniques. Slab building is ideal for creating geometric and architectural forms.
Essential Handbuilding Tips

Choose the Right Clay
Selecting the appropriate clay is crucial for successful handbuilding. Stoneware and earthenware clays are popular choices due to their workability and strength. Consider the final appearance of your piece and the firing temperature when choosing clay.
Keep Your Clay Moist
Clay needs to remain moist throughout the handbuilding process. Use a damp sponge or spray bottle to keep the surface pliable. If the clay starts to dry out, it can crack or become difficult to shape.
Use the Right Tools
While handbuilding emphasizes manual manipulation, a few basic tools can enhance your work. Essential tools include a needle tool for scoring, a wooden rib for smoothing surfaces, and a modeling tool for adding texture and detail.
Practice Patience and Precision
Handbuilding requires patience and attention to detail. Take your time when shaping and joining pieces. Uneven or rushed construction can lead to structural weaknesses and cracking during firing.
Experiment with Textures
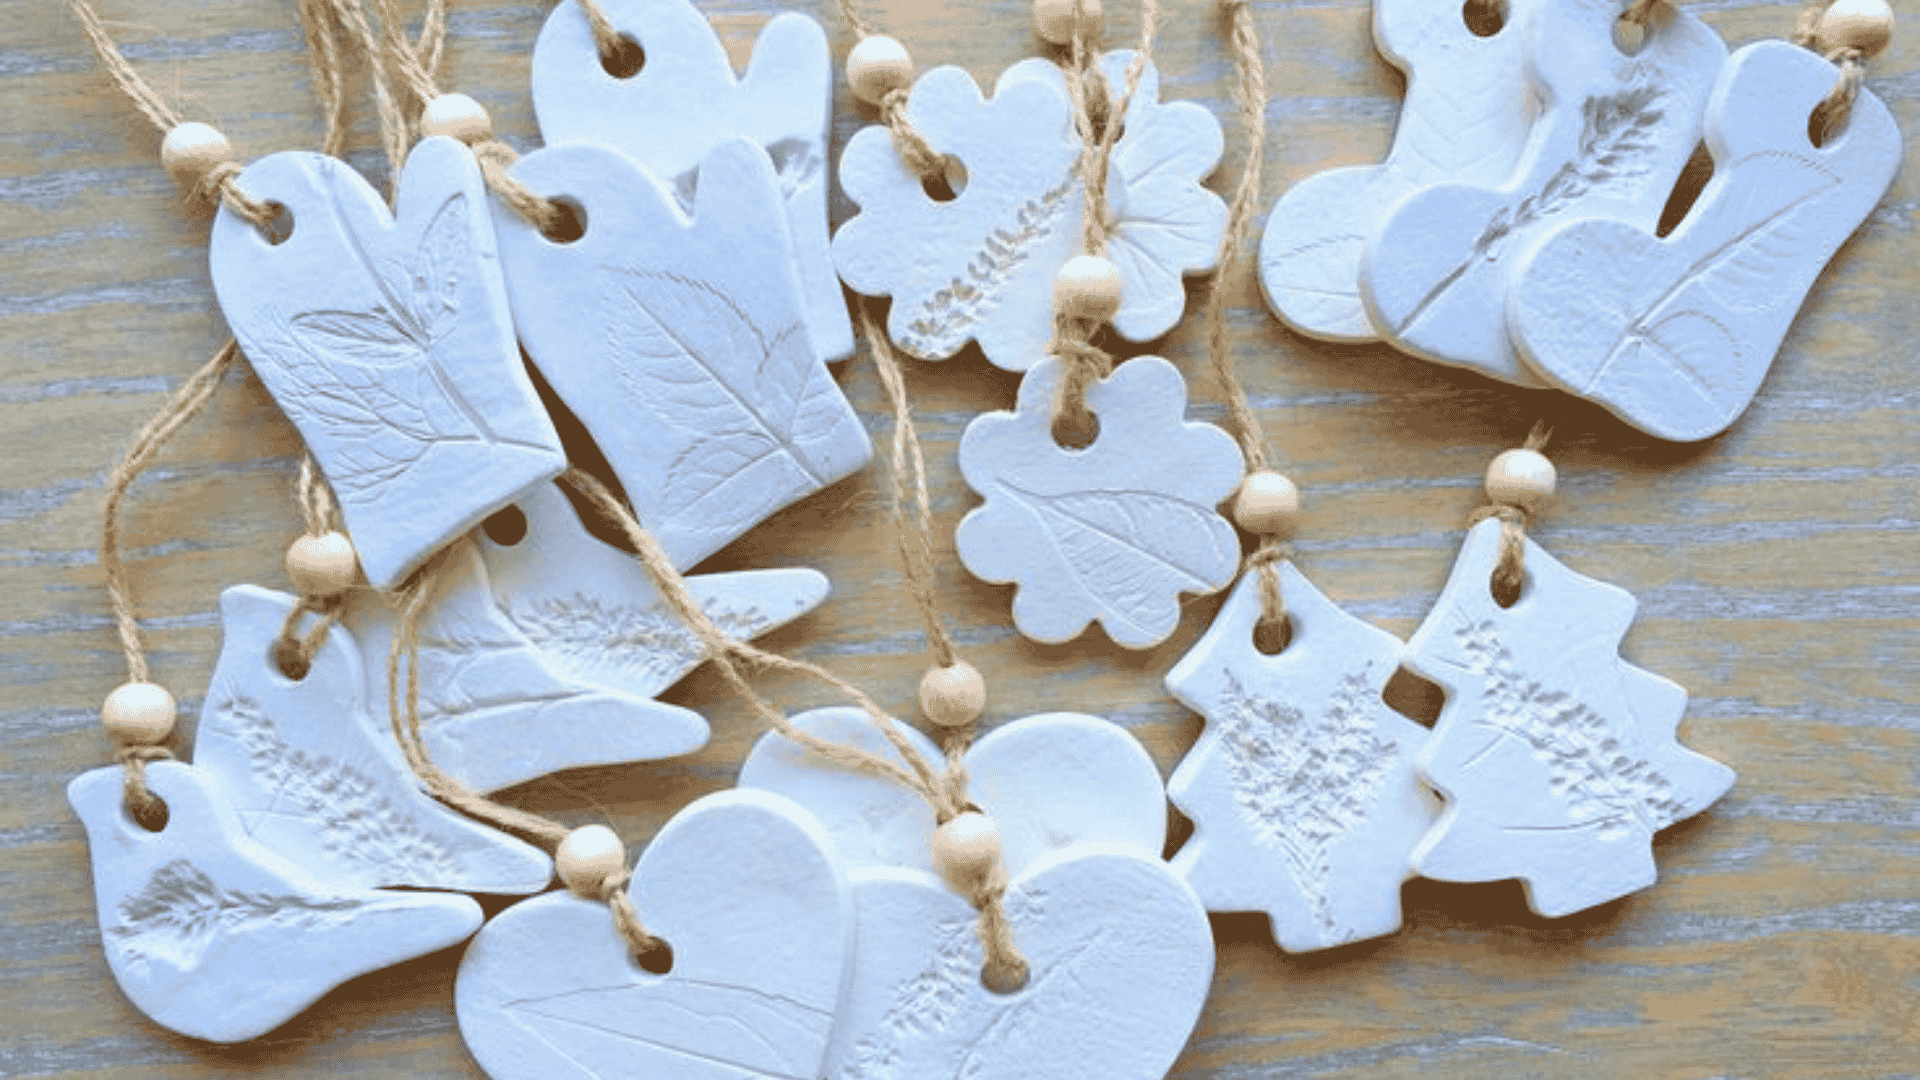
Adding texture can elevate the visual appeal of your pottery. Experiment with various household objects like forks, leaves, or fabric to create interesting patterns and designs on the clay surface.
Consider the Drying Process
Proper drying is crucial to prevent cracking. Allow your pieces to dry slowly and evenly, covering them loosely with plastic if necessary. Avoid exposing them to direct sunlight or drafts.
Bisque Firing
Once your piece is dry, it’s ready for bisque firing. This initial firing hardens the clay, making it ready for glazing. Follow the recommended firing schedule for your clay type to ensure a successful outcome.
Final Thoughts
Pottery handbuilding is a rewarding and creative process that allows for endless possibilities. By mastering the basic techniques and incorporating these tips, you’ll be well on your way to creating stunning handmade pottery. Remember, practice makes perfect, so keep experimenting and refining your skills. Happy crafting!
If you found these tips helpful, don’t forget to share this post with fellow pottery enthusiasts and explore more pottery techniques in our blog archive. Sign up for our newsletter to stay updated with the latest pottery tutorials and tips!

Related Articles
0 comments on "Essential Pottery Handbuilding Tips for Beginners"