
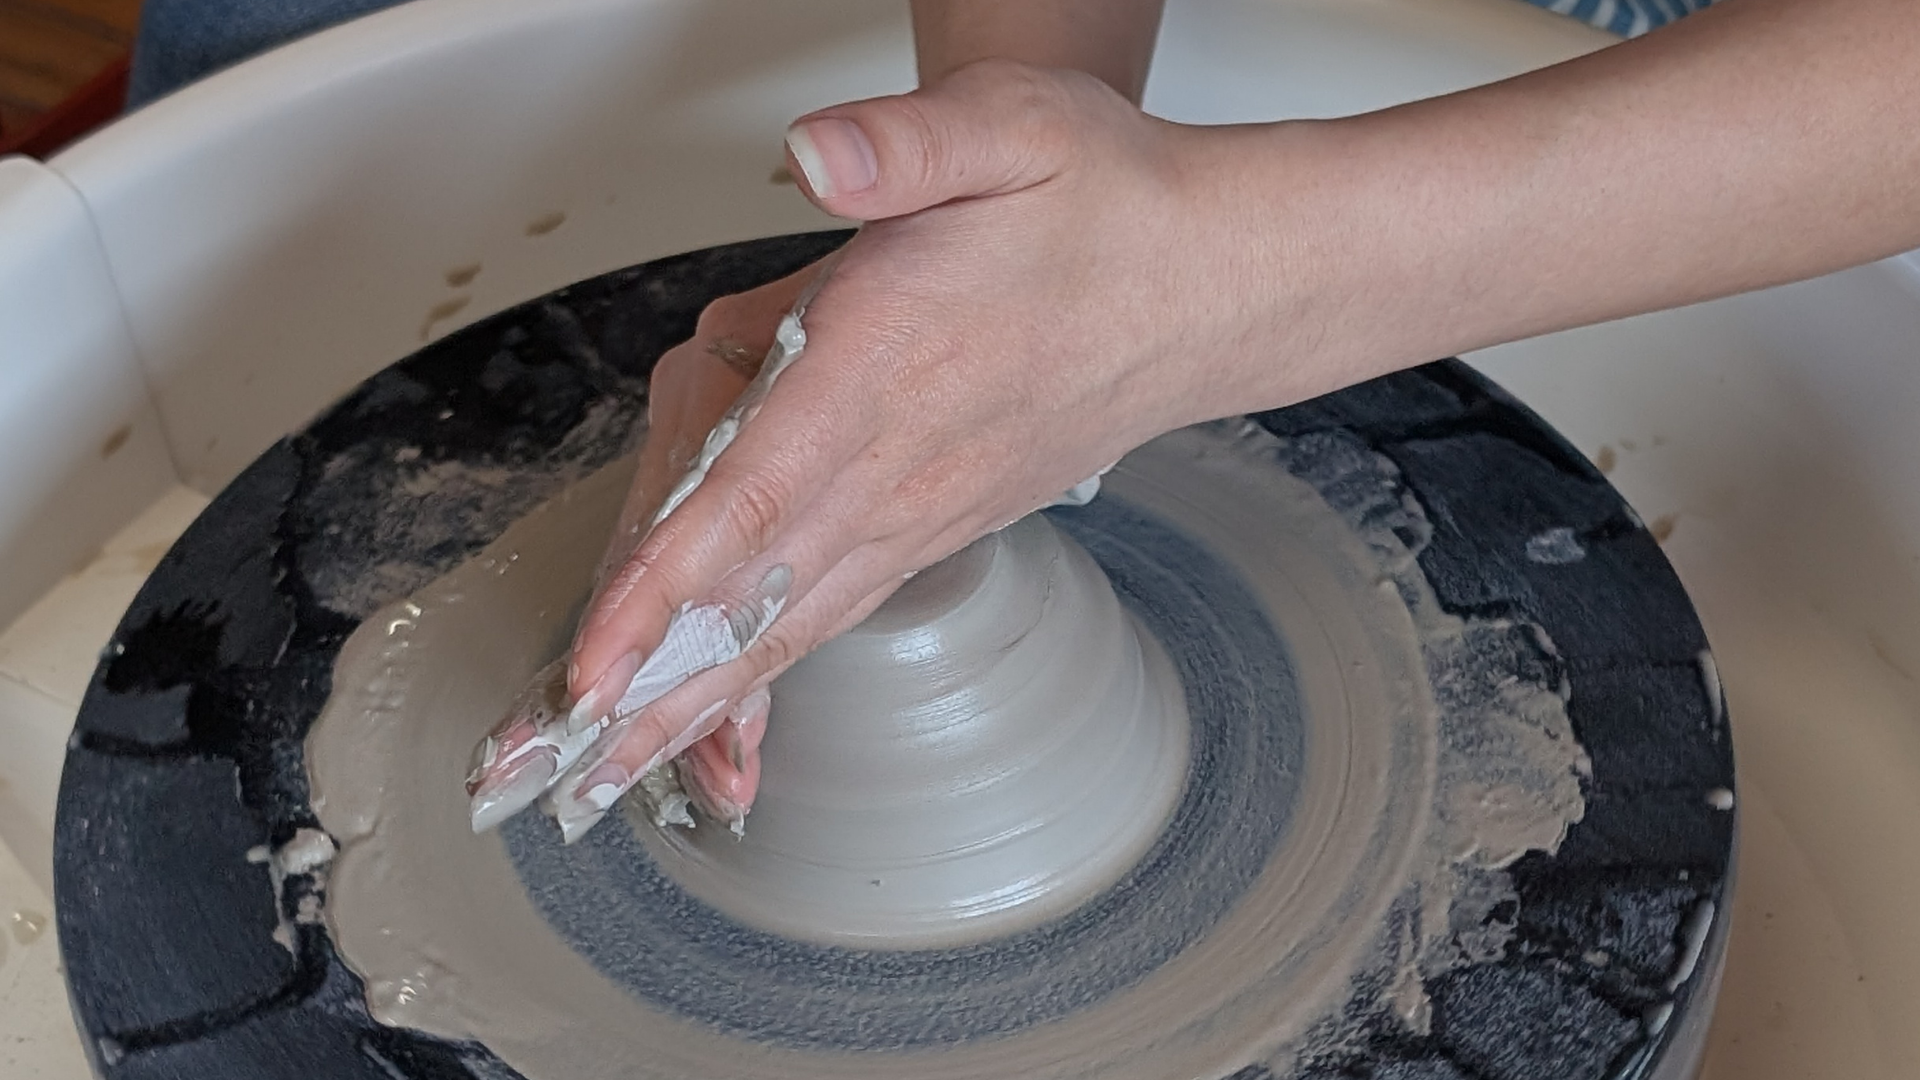
Behind the Wheel: Creating My Donut Vase at Happy Hands Studio
Every pottery project is a journey, and my latest creation—a donut vase—was no exception. This piece pushed my wheel-throwing skills, taught me patience, and ultimately became one of my favorite contemporary forms I’ve ever made. It took two attempts to get it just right, but the result was worth it!
Why I Chose to Make a Donut Vase
I love challenging myself with new pottery forms, and this project was all about stepping outside my comfort zone. I wanted to experiment with a more sculptural yet functional shape that could bring a modern, contemporary aesthetic to my studio collection. The donut vase, with its clean curves and hollow center, felt like the perfect piece to explore.
Plus, I had a vision: a soft lavender glaze to give it a fresh, springtime feel.
The First Attempt: Cracks and Lessons Learned

As with many pottery projects, the first attempt didn’t go as planned. After carefully shaping the donut form on the wheel, letting it dry, and firing it in the kiln, I was disappointed to find that it cracked during the process.
So, what went wrong?
- Uneven Drying – Because of its unique shape, certain areas dried faster than others, creating tension in the clay.
- Air Pockets & Weak Spots – I realized I needed to compress and refine the clay more to prevent structural weaknesses.
Instead of seeing this as a failure, I saw it as a learning experience. Every mistake in pottery is a lesson in patience and problem-solving.
The Second Attempt: Perfecting the Process

With the lessons from my first attempt in mind, I made adjustments for round two:
✔ Slower, More Even Drying – I covered the piece with plastic and allowed it to dry gradually to prevent cracks.
✔ Stronger Construction – I spent extra time compressing the clay and making sure there were no hidden air pockets.
The result? A perfectly smooth, crack-free donut vase!
Bringing the Donut Vase to Life with Glaze
After successfully firing the piece, it was time for my favorite part—glazing! I wanted a color that felt soft, fresh, and perfect for spring, so I chose a delicate lavender glaze. The soft purple hue gives the vase an airy, modern look that fits beautifully in any space.
Seeing the glaze melt into the curves of the donut shape after the final firing was so satisfying—it truly brought the piece to life.
Why I Love This Piece
Creating this donut vase was more than just a technical challenge—it was a lesson in persistence, problem-solving, and artistic growth. It’s a reminder that even when things don’t go as planned in pottery (or in life), there’s always an opportunity to adjust, refine, and try again.
Now, this contemporary piece sits proudly in Happy Hands Studio, and I couldn’t be happier with how it turned out!
Final Thoughts
Pottery is a constant learning process, and every piece tells a story. My donut vase journey was filled with trial and error, but in the end, it was a rewarding experience that pushed my skills to the next level.
Thinking of trying something new in pottery? Embrace the challenge, learn from the process, and most importantly—have fun!
Would you ever try making a donut vase? Let me know in the comments!

Related Articles

0 comments on "Behind the Wheel: Creating My Donut Vase at Happy Hands Studio"